React Native Fundamentals
WELCOME FRIENDS!
Welcome
Gant
Laborde
-
Chief Technology Strategist

@GantLaborde

Connect
community.infinite.red
Morning
7:30 - 8:00am
8:00 - 8:30am
8:45 - 9:45am
9:45 - 10:45am
10:45 - 11:00am
Welcome
React Philosophy - ES6 - JSX
Hello World Basics - props & state - animation
Play with components
8:30 - 8:45am
BREAK
Styles intro -💪Flex Yo Self exercises
🍽 LUNCH 🍽
11:00am-12:15pm
Afternoon
12:15 - 12:30pm
1:15 - 1:45pm
Panel
2:15 - 2:30pm
Packing List - Step 2
1:45 - 2:15pm
BREAK
2:30 - 3:00pm
Packing List - Step 3
3:00 -3:30pm
Packing List - Step 4
3:30 - 4:00pm
State Management
4:00 - 4:30pm
Wrap up - Questions - Show-and-Tell
Navigation
12:30 - 1:15pm
Packing List App intro & Step 1
Let Us Meet You
-
What is your name?
-
Where are you now?
-
Programming background?
- What do you enjoy?
Frank
von Hoven
-
Software Engineer
-
Editor-in-Chief:
React Native Newsletter


newsletter.com
React Native Philosophy
The React Story

What is React?
- UI as a function of state
- React virtual DOM, React Fiber
- By Facebook
What is React Native?
- Based on ReactJS
- Multiple Platforms
- "Learn once, write anywhere"
Software Goals
- Reusable
- Predictable
- Testable
- Scalable
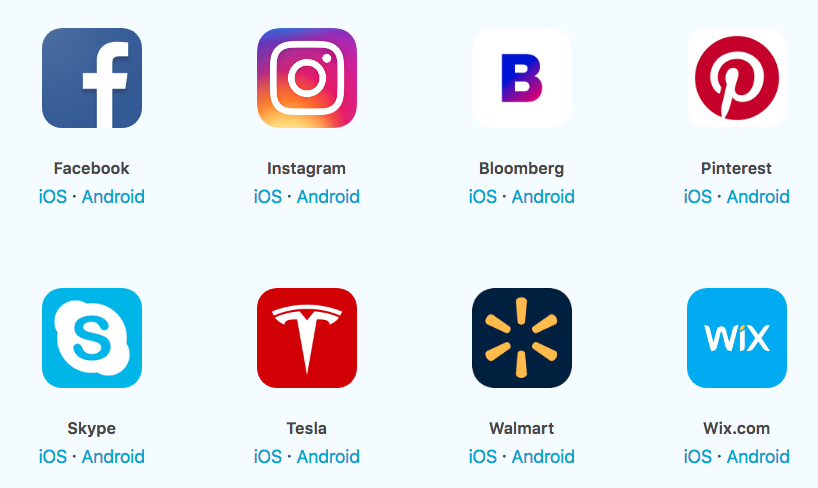
Who Uses React Native?
Declarative
- Flexible
- Predictable
- Easier to debug
Declarative Code
$("#btn").click(function() {
  $(this).toggleClass("highlight")
  $(this).text() === 'Add Highlight'
    ? $(this).text('Remove Highlight')
    : $(this).text('Add Highlight')
})
<Btn
onToggleHighlight={this.handleToggleHighlight}
highlight={this.state.highlight}>
{this.state.buttonText}
</Btn>Composability
- Small reusable components
- Combine components into screens
- Screen into Apps
What is ES6 + JSX?
ES6
ES6
New variable types
let
const
var
X
99% of the time
ES6
Arrow functions: ( ) => { }
ES5
ES6
binds function to
var sayName = function() { }const sayCity = () => { }() => { }thisthis.sayName.bind(this)this.sayCity()ES6
const getName = (name) => {
  return name
}
Functions - explicit vs implicit
var getName = function(name) {
  return name
}
ES5
ES6
const getName = (name) => nameEXPLICIT
IMPLICIT - only with
const getName = (name) =>
namereturn
Implicit === No { } required
ES6
ES6
const sayName = (name) => console.log(name)Arrow Function Parameters
const sayName = name => console.log(name)const addTwo = (a, b) => console.log(a + b)1 Parameter
( ) are optional
2+ Parameters
( ) are required
ES6
Spread operator
console.log(person)
Spread an object
...const employment = {
company: 'Infinite Red',
job: 'Software Engineer'
}
const basicInfo = {
  firstName: 'Frank',
  lastName: 'von Hoven'
}
const person = {
  ...basicInfo,
  ...employment,
  food: 'Tacos',
  movies: 'Comedy'
}
console.log(person)

{
  firstName: 'Frank',
  lastName: 'von Hoven',
  company: 'Infinite Red',
  job: 'Software Engineer',
  food: 'Tacos',
  movies: 'Comedy'
}
const person = {
  ...basicInfo,
  ...employment,


}
const person = {
  ...basicInfo,


}
const person = {
  ...basicInfo,
  ...employment,
  food: 'Tacos',

}
ES6
Object { destructuring }
const { name, hair } = person

console.log(name, hair)
ES6
const person = { name: 'James', hair: 'Brown', height: "6'1" }// "James", "Brown"JSX
JSX
- JSX adds XML-like syntax to JavaScript.
- Can use React Native without JSX.

JSX
This:
Compiles to:
<Text color="blue">Click Me</Text>React.createElement(Text, {color: 'blue'}, 'Click Me')
JSX vs. HTML
<View>
  <Text>Hello World</Text>
</View>
<button onClick="myFunction()"><div>
<p>Hello World</p>
</div><View>
</View><div>
</div><input type="text"><TextInput /><TouchableOpacity onPress={myFunction()} />Embedding Expressions into JSX
const person = { name: ‘Chris’, age: 22 }<View>
<Text>Hello { person.name }</Text>
</View>// "Hello Chris"JSX Children
<View>
  <Text>Hello!</Text>
  <Text>Good to see you here.</Text>
</View>
JSX
- HTML/XML-like structure in the same file as our JS code
- JSX is transformed into actual JS code (via Babel)
- tl;dr → JSX === Syntactic sugar
15 Minute Break?
☕️ Break ☕️
Please return at 9:15am
Next Up: Hello World 🌎
Hello World 🌎
Hello World
- React Native Core Components
- Get app running
- Examine structure
- Create functional component
- Pass props
Preview
React Native Core Components
-
View
-
ScrollView
-
Text
-
TextInput
-
Image
-
TouchableOpacity
React Native vs HTML
| HTML | React Native |
|---|---|
| <div> | <View> |
| <p> | <Text> |
| <input /> | <TextInput /> |
| <button> | <TouchableOpacity /> |
Basic React Native Components
import React from 'react'
import { View, Text } from 'react-native'

class MyComponent extends React.Component {
 render() {
    return (
      <View>
        <Text>Hello World</Text>
      </View>
    )
  }
}

// example usage

<MyComponent />
React
class
code
$ react-native init HelloWorld✨ Done in 4.01s.
To run your app on iOS:
cd /Users/aj/Projects/HelloWorld
react-native run-ios
- or -
Open ios/HelloWorld.xcodeproj in Xcode
Hit the Run button
To run your app on Android:
cd /Users/aj/Projects/HelloWorld
Have an Android emulator running (quickest way to get started), or a device connected
react-native run-android
$ cd HelloWorld
$ react-native run-ios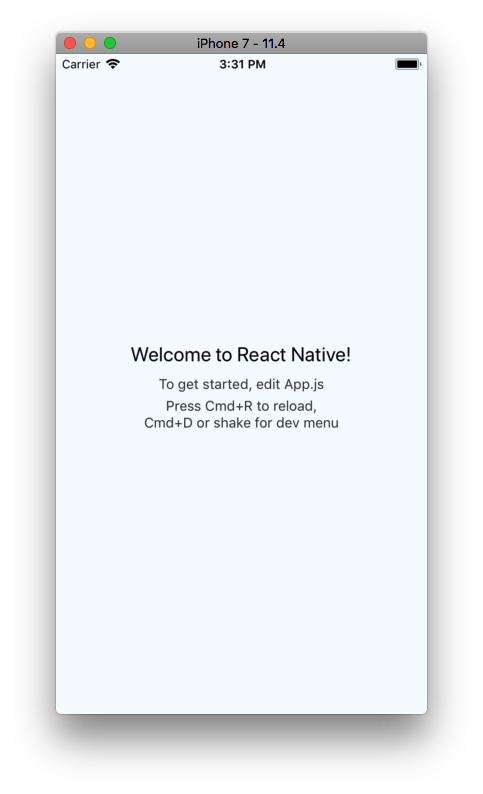
App.js
Hello World
- Get app running
- Examine structure
- Create functional component
- Pass props
Re-cap
Intro to Lifecycles and Animation
Intro to Lifecycles and Animation
MOTIVATION

Lifecycle Basics
Let's CODE!
ANIMATION TIME!!!

Intro to Lifecycles and Animation
- onLayout
- Basics of Animated
- Fade/Pulse/Spin
- useNativeDriver!
Re-cap
Styling + Flexbox
Styling
Styles can be created one of three ways:
- inline
- object
- StyleSheet
Styling
inline styles
export App = () => {
  return (
    <View
      style={{
        width: 300,
        hight: 150,
        backgroundColor: "green"
      }}
    >
      <Text style={{ color: "red" }}>Hello</Text>
    </View>
  )
}
Styling
style object
const styles = {
  text: {
    color: "red"
  }
}

export App = () => {
  return <Text style={styles.text}>Hello World</Text>
}
Styling
StyleSheet
// ... imports ⬆︎

export class App extends Component {
  render () {
    return (
      <View style={styles.container}>
        <Text style={styles.text}>Hello World</Text>
      </View>
    )
  }
}

const styles = StyleSheet.create({
  container: {
    width: 300,
    height: 130
  },
  text: {
    color: "red"
  }
})
Styling
Array of styles
// ... imports ⬆︎

export class App extends Component {
  render () {
    return <Text style={[ styles.text, styles.bigText ]}>Hello</Text>
  }
}

const styles = StyleSheet.create({
  text: {
    color: 'red'
  },
  bigText: {
    fontSize: 30
  }
})
Styling
Combining inline styles with StyleSheet
// ... imports ⬆︎

export class App extends Component {
  render () {
    return (
      <Text style={[ styles.text, styles.bigText ]}>
        Hello
      </Text>
    )
  }
}

const styles = StyleSheet.create({
  text: {
    color: 'red'
  },
  bigText: {
    fontSize: 30
  }
})
// ... imports ⬆︎
export class App extends Component {
render () {
return (
<Text style={[ styles.text, styles.bigText, {} ]}>
Hello
</Text>
)
}
}
const styles = StyleSheet.create({
text: {
color: 'red'
},
bigText: {
fontSize: 30
}
})// ... imports ⬆︎
export class App extends Component {
render () {
return (
<Text style={[ styles.text, styles.bigText, { margin: 5 } ]}>
Hello
</Text>
)
}
}
const styles = StyleSheet.create({
text: {
color: 'red'
},
bigText: {
fontSize: 30
}
})Styling
Dynamic styling
// ... imports ⬆︎

export class App extends Component {
  state = { warning: true }

  render() {
    const fontColor = this.state.warning ? 'red' : 'black'
    return (
      <View>
        <Text style={{ color: fontColor }}>Hello World</Text>
      </View>
    )
  }
}
Styling
- Styles usually match CSS
- Prop names are camelCased
backgroundColor
background-color
vs
Styling
- width / height - number
- top / left / bottom / right - number
- padding - number
- margin - number
- borderWidth - number
- borderColor - color
Non-flex styles
<View/>
FlexBox
Flexbox is designed to provide a consistent layout on different screen sizes.
You will normally use a combination of:
-
flexDirection
-
alignItems
-
justifyContent
to achieve the right layout.
coding
exercise
training.infinite.red
Styling
- Inline
- Object
- StyleSheet
- FlexBox
Re-cap
Play with Components
🍽 Lunch 🍽
Please return at 12:15pm
Next Up: Packing List App
Panel
Packing List App
Packing List App

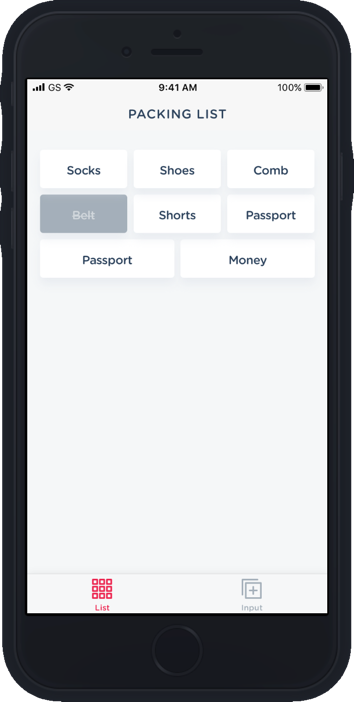
https://github.com/infinitered/packing-list

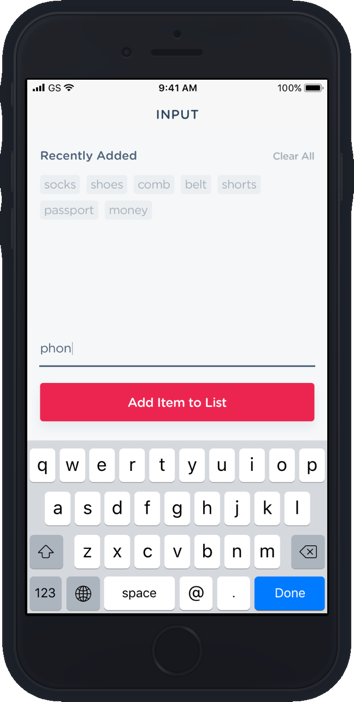
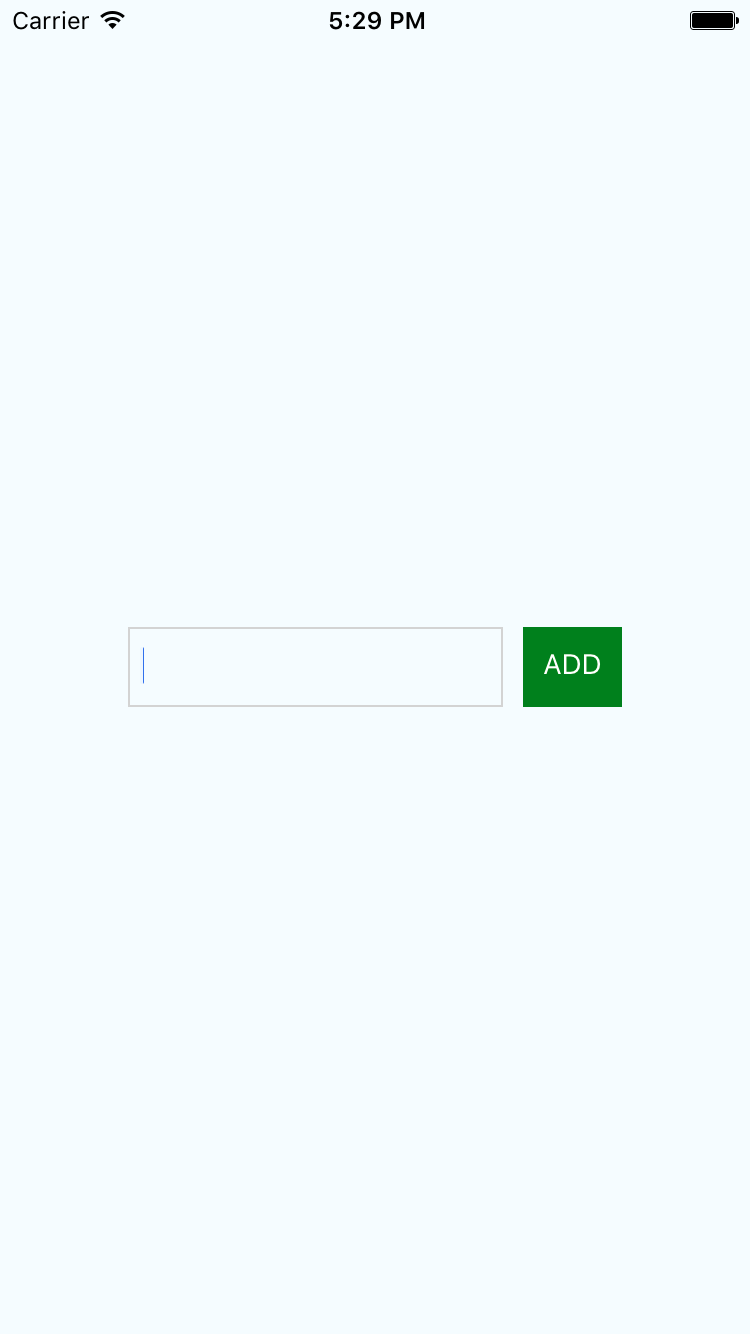
Lesson 1
- Able to write to and read from local state
- Introduce TextInput component
Preview
- Introduce local state
Basic React Native Concepts - state
import React from 'react'
import { Text } from 'react-native'

class App extends React.Component {
  state = { name: 'Chris' }

// lifecycle methods

  render() {
    return (
     <Text>{this.state.name}</Text>
    )
  }
}
class
<App />- Contains local state
- Lifecycle methods
- State is data
- Private
- Fully controlled by component
Basic React Native Concepts
import React from 'react'
import { Text } from 'react-native'

class App extends React.Component {
  state = { name: 'Chris' }

  render() {
    return(
      <Text>{this.state.name}</Text>
    )
  }
}
Creating state
State using property initializers to declare state
Basic React Native Concepts
import React from 'react'
import { Text } from 'react-native'

class App extends React.Component {
  constructor() {
    super()
    this.state = {
      name: 'Chris',
    }
  }

  render() {
    return(
      <Text>{this.state.name}</Text>
    )
  }
}
Creating state
Using constructor to declare state
Basic React Native Concepts
import React from 'react'
import { View, Text } from 'react-native'

class App extends React.Component {
  state = { name: 'Chris' }

  updateName = () => {
    this.setState({ name: 'Amanda' })
  }

  render() {
    return(
      <View>
        <Text onPress={this.updateName}>
          {this.state.name}
        </Text>
      </View>
    )
  }
}
Updating state with
- Component needs to be re-rendered with the updated state
setState
- Enqueues changes to the component state
Basic React Native Concepts
class App extends React.Component {
  state = { value: 0 }

  increment = () => {
    this.setState((state, props) => ({value: state.value + 1}))
  }

  render() {
    return <Text onPress={this.increment}>{this.state.value}</Text>
  }
}
- Receives an optional callback
setState
- Update state based on prev state
class App extends React.Component {
  state = { value: 0 }

  increment = () => {
    this.setState((state, props) => ({value: state.value + 1}))
  }

  render() {
    return <Text onPress={this.increment}>{this.state.value}</Text>
  }
}
code
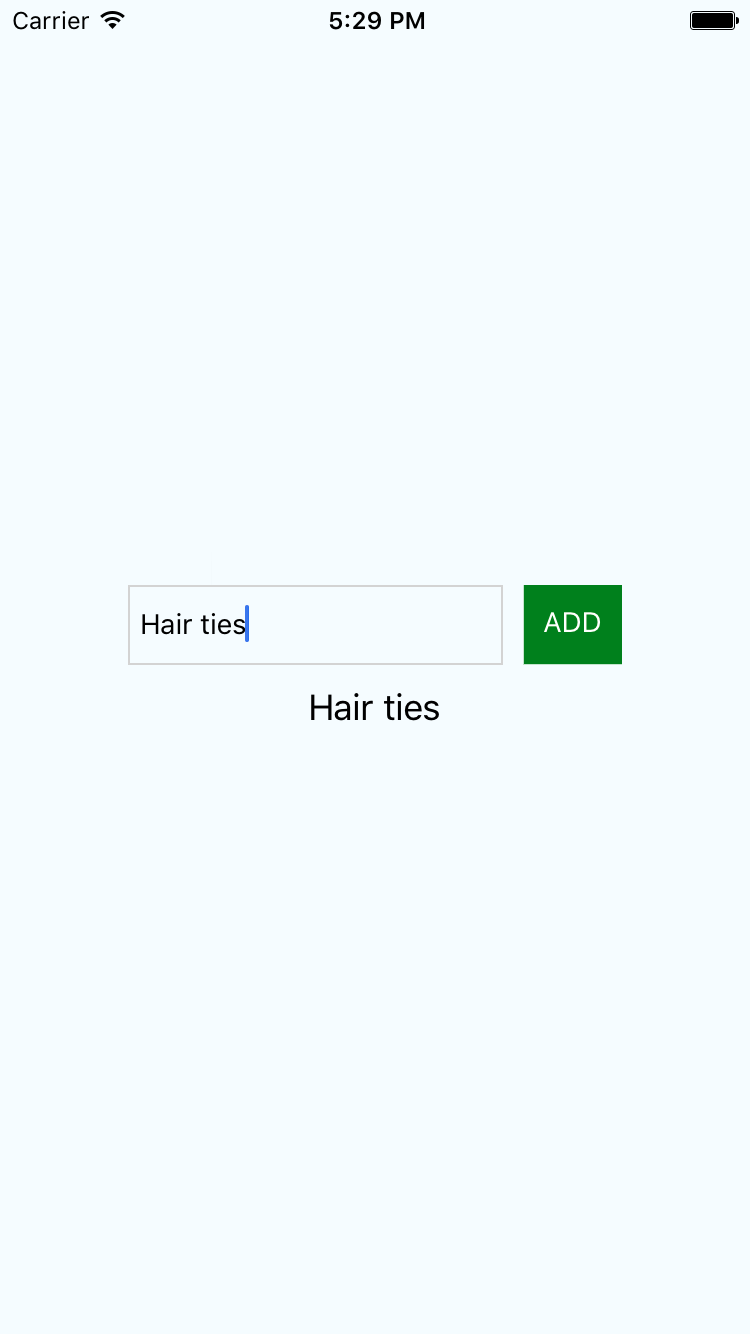
Lesson 1
Re-cap
- Able to write to and read from local state
- Introduce TextInput component
- Introduce local state
Lesson 2
- Introduce "items" array into local state
Preview
- Able to push inputted item into the items array
- Introduce TouchableOpacity
code
map()
- Creates a new array
- With the results of calling a provided function
- On every element in the calling array.
map()
[1, 2, 3]
Array →
[1, 2, 3].map()
.map() →
[1, 2, 3].map((item) => item)
.map() →
[1, 2, 3].map((item, index) => item + index)
.map() →
[1, 2, 3]
returns →
[1, 3, 5]
returns →
map()
{ items: ["Socks", "Shoes", "Jeans"] }
items.map((item) => ?)
Shoes
Socks
Jeans
items.map((item) => <Text>{item}</Text>)
Lesson 2
Re-cap
- Introduce "items" array into local state
- Able to push inputted item into the items array
- Introduce TouchableOpacity
Lesson 3
Preview
- Create Button Component
- Create ListInput Component
- Clear items
Current App
coding exercise
Lesson 3
Re-cap
- Create Button Component
- Create ListInput Component
- Clear items
Lesson 4
- Intro to FlatList
- Add ability to "check" an item
Preview
code
FlatList
FlatList
- Inherits from ScrollView
- Renders an array of items
FlatList
render() {


  return (
    <View>
      <FlatList
        data={data}


      />
    </View>
  )
}
Requires 3 props:
-
data
-
renderItem
-
keyExtractor
render() {


  return (
    <View>
      <FlatList


      />
    </View>
  )
}
render() {
  const data = [{ name: "Chris" }, { name: "Amanda" }]

  renderItem = ({ item }) => {
    return <Text>{item.name}</Text>
  }

  return (
    <View>
      <FlatList
        data={data}
        renderItem={this.renderItem}
        keyExtractor={item => item.name}
      />
    </View>
  )
}
render() {
  const data = [{ name: "Chris" }, { name: "Amanda" }]


  return (
    <View>
      <FlatList
        data={data}


      />
    </View>
  )
}
render() {
  const data = [{ name: "Chris" }, { name: "Amanda" }]


  return (
    <View>
      <FlatList
        data={data}
        renderItem={this.renderItem}

      />
    </View>
  )
}
render() {
  const data = [{ name: "Chris" }, { name: "Amanda" }]

  renderItem = ({ item }) => {

  }

  return (
    <View>
      <FlatList
        data={data}
        renderItem={this.renderItem}

      />
    </View>
  )
}
render() {
  const data = [{ name: "Chris" }, { name: "Amanda" }]

  renderItem = ({ item }) => {
    return <Text>{item.name}</Text>
  }

  return (
    <View>
      <FlatList
        data={data}
        renderItem={this.renderItem}

      />
    </View>
  )
}
able to check an item

coding
exercise
Hints
-
items: string[]
- ["Socks", "Shoes"]
-
items: object[]
- [{ name: "Socks, ?: ??? }, { name: "Shoes", ?: ??? }]
Lesson 4
- Intro to FlatList
- Add ability to "check" an item
Re-cap
☕️ Break ☕️
Please return at 2:30pm
Lesson 5
Preview
- State management
- Unstated
React State Museum
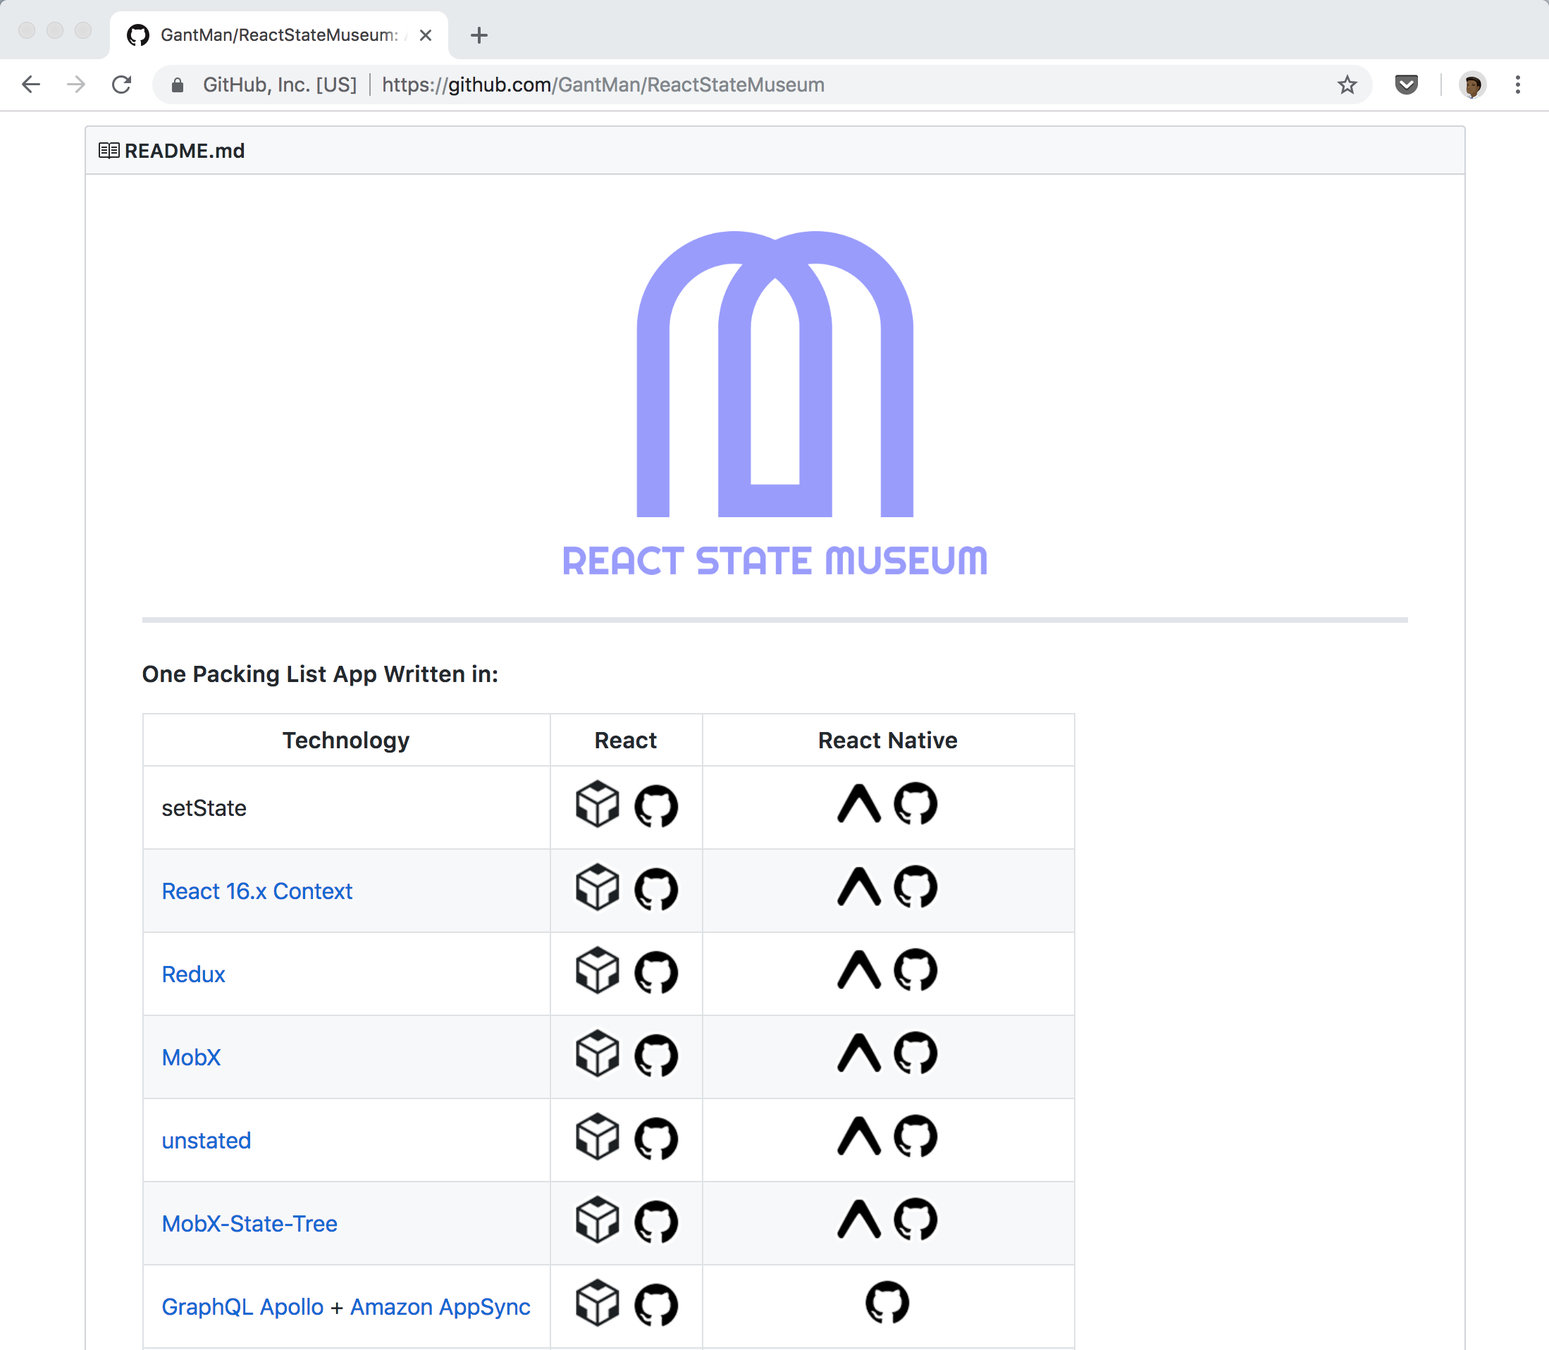
github.com/GantMan/ReactStateMuseum

https://unstated.io
Important Componets
-
<Container />
-
<Provider />
-
<Subscribe />
<Container />
- Place to store state
- Contains logic to update state
- Looks similar to componet state
// Example

class CounterContainer extends Container {
  state = { count: 0 };

  increment = () => {
    this.setState({ count: this.state.count + 1 });
  };

  decrement = () => {
    this.setState({ count: this.state.count - 1 });
  };
}
code
$ yarn add unstated

-- or --

$ npm install --save unstated
Add <Container />
- Create a Container
- Move state
- Move state manipulating functions
import { Container } from "unstated"

export class RootStore extends Container {
  state = { inputValue: null, items: [] }

  handleInput = value => {
    this.setState({
      ...this.state,
      inputValue: value
    })
  }

  handleAddPress = () => {
    const { inputValue, items } = this.state
    if (inputValue) {
      const newItems = [...items, { name: inputValue, checked: false }]
      this.setState({ items: newItems, inputValue: "" })
    }
  }

  handleClearPress = () => this.setState({ items: [], inputValue: "" })

  checkItem = selectedItem => {
    const selectedName = selectedItem.name
    const newItems = this.state.items.map(item => {
      const { name, checked } = item
      return name === selectedName ? { name: name, checked: !checked } : item
    })
    this.setState({ items: newItems })
  }
}
<Subscribe />
- Allows component rerender
- Call methods from <Container />
<Provider />
- Wraps the app's root component
- Used once to wrap multiple screens
class CounterContainer extends Container<CounterState> {
  state = {
    count: 0
  };

  increment() {
    this.setState({ count: this.state.count + 1 });
  }

  decrement() {
    this.setState({ count: this.state.count - 1 });
  }
}

function Counter() {
  return (
    <Provider>
      <Subscribe to={[CounterContainer]}>
        {counter => (
          <div>
            <button onClick={() => counter.decrement()}>-</button>
            <span>{counter.state.count}</span>
            <button onClick={() => counter.increment()}>+</button>
          </div>
        )}
      </Subscribe>
    </Provider>
  );
}
import { Container, Subscribe, Provider } from "unstated"
// Replace this.state w/ container.state
// Replace items and inputValue with container.state.items or container.state.inputValue
render() {
return (
<Provider>
<Subscribe to={[RootContainer]}>
{container => (
<View style={styles.container}>
<View style={styles.topContainer}>
<ListInput
value={container.state.inputValue}
onChangeText={value => container.setState({ inputValue: value })}
onAddItem={container.handleAddPress}
onClearItems={container.handleClearPress}
/>
</View>
<View style={styles.bottomContainer}>
<FlatList
data={container.state.items}
extraData={{ data: container.state.items && container.state.items.length }}
keyExtractor={item => item}
renderItem={({ item, index }) => this.listItems(item, index, container)}
contentContainerStyle={styles.listContainer}
style={styles.list}
numColumns={3}
/>
</View>
</View>
)}
</Subscribe>
</Provider>
)
}Lesson 5
Preview
- State management
- Unstated
Lesson 6
- React Navigation
Preview

code
Lesson 6
- React Navigation
Re-cap
Playground
Packing List App
Questions?
Wrapping Up
Reactotron
Solidarity
Ignite
Fin
Thank you all!
December 11 Online: Intro to React Native
By Infinite Red
December 11 Online: Intro to React Native
React Native Workshop Connect.Tech 2018.


